
12 Steps to Installing a new exhaust system
- First, you need to diagnose your exhaust goals. Are you looking to upgrade current system to a performance system or are you looking to quiet down your existing system?
- Purchase a direct fit system for quickest and hassle free install.
- Get your car in the air. You'll need to jack your vehicle up and secure it with heavy-duty jack stands. Never work under your vehicle unless you are sure it is fully secure!
- Next, Turn off your car and let the exhaust system cool down! (VERY IMPORTANT) Your exhaust system is in charge of sorting out the air and fuel coming out of your engine this causes it to heat up to temperatures of over 1000 degrees.
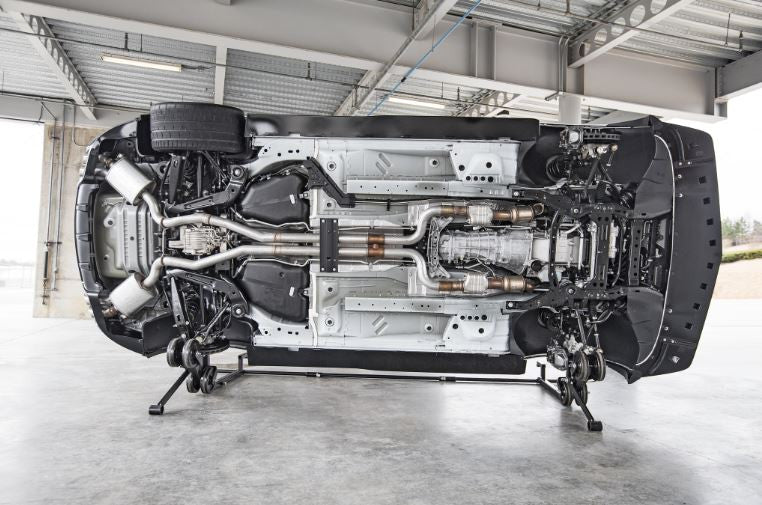
- Now that the car has cooled down, Begin at the front and work your way back. Remove any oxygen sensor wiring that may be connected to or around the catalytic converter.
- You will need to disconnect your old exhaust starting at the catalytic converter going backwards toward the tailpipe. (Bolts and nuts may need to be heated or lubed in order for easier breakdown)
- Assemble the new exhaust system according to the manufacturers provided directions.
- Start installation of the new system, beginning from the front. (Secure, but do not tighten the bolts, as these will need to be adjusted)
- Make sure to use new gaskets to ensure you have a tight seal.
- Check all the fitting points from beginning to end. If everything fits correctly, tighten the bolts. Re-attach any wires and sensors that may have been removed.
- Lower the vehicle and start the motor to check for leaks or vibration issues.
- You will want to re-tighten all the bolts or clamps after about a week. Since your exhaust heats to high temperatures and vibrates you will want to make sure that everything is secured